5 Best Thermal Scope for Hog Hunting Options: Experts Agree
Three massive hogs were tearing up my neighbor’s cornfield, and I couldn’t hit a single one. That was my last night hunting with traditional optics. After switching to thermal, I haven’t had a failed night hunt in over five years. But here’s the thing – I wasted $3,000 on my first thermal scope because I didn’t know what I needed. Don’t make the same expensive mistakes I did. Here are the five best thermal scope for hog hunting options I’ve used and promote.
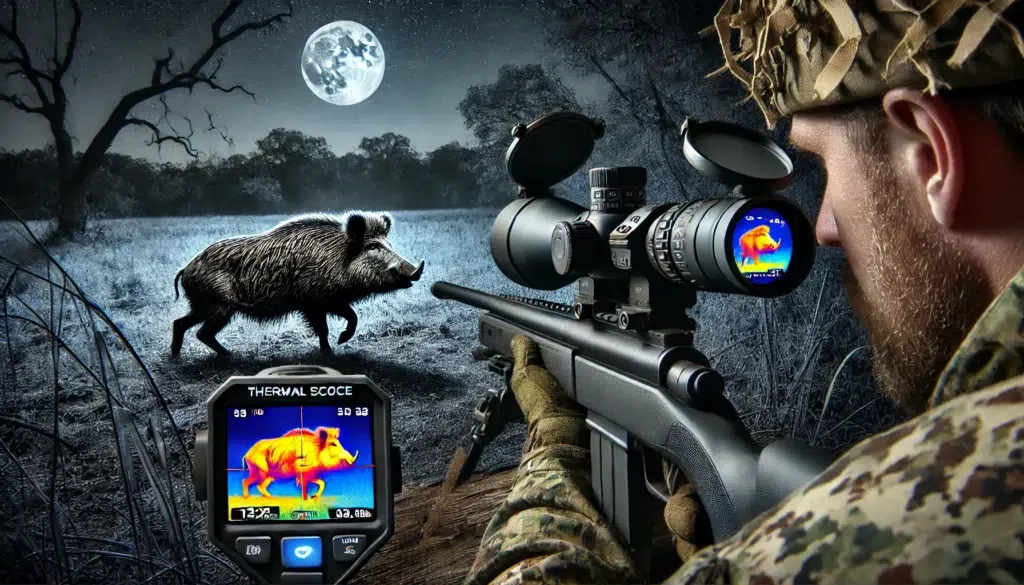
After 10+ years of night hunting and testing dozens of thermal scopes on my AR-15, I’ve learned that choosing the right thermal isn’t about buying the most expensive option – it’s about matching the technology to your hunting style. I’ve helped hundreds of hunters make this transition, and I’ve seen the same questions pop up time and time again.
In this guide, I’m cutting through the marketing hype to show you exactly what works in the field. Whether you’re running an AR-15 platform or another rifle, I’ll break down everything from basic thermal technology to advanced features that matter for hog hunting: no fluff, no sponsored recommendations – just real-world experience from countless nights in the field.
What you’ll learn:
- Which features matter for hog hunting (and which are expensive gimmicks)
- How to match thermal scope capabilities to your hunting environment
- Real field testing results from multiple price ranges
- Specific AR-15 mounting and zero considerations
- Ways to save money without compromising performance
Let’s start with the basics of thermal technology and why it’s revolutionized night hunting. Trust me – once you understand how these scopes actually work, making the right choice becomes much clearer.
Understanding Thermal Scopes: Beyond the Hype
How Thermal Actually Works
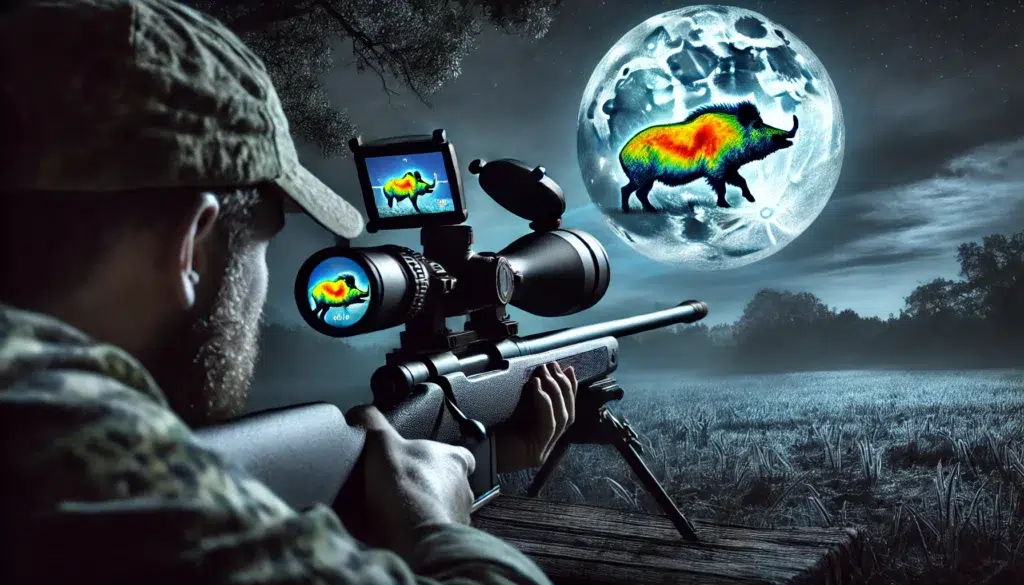
Let me bust a myth right away – thermal scopes don’t “see heat” the way most people think. What they detect is a temperature difference. This matters because it affects how you use these scopes in the field.
The Real Deal on Thermal Detection
Here’s what happens when you’re scanning for hogs:
- The scope detects temperature variations as small as 0.05 degrees
- It creates an image based on these differences
- Warmer objects (like hogs) stand out against cooler backgrounds
- The image isn’t “true color” – it’s a heat map
Pro Tip: This is why a black-and-white hog looks the same through thermal. I learned this after spending 20 minutes stalking what I thought was a massive boar, only to discover it was a cow (rookie mistake).
Thermal vs. Night Vision: The Truth
After using both extensively, here’s the real difference:
Thermal Advantages
- Works in Complete Darkness
- No ambient light is needed
- Can spot hogs in thick brush
- Weather resistant
- Works in fog and light rain
- Superior Detection
- Spots heat signatures through light cover
- Clearly shows animals at longer ranges
- Works day and night
- No flash needed
Night Vision Limitations
- Requires some ambient light
- I can’t see through the brush
- Animals can blend with the background
- Limited by weather conditions
Critical Features That Matter

After spending thousands on different scopes, here’s what counts:
Resolution
The truth about resolution numbers:
- 384×288 = Minimum for hunting
- 640×480 = Sweet spot for most hunters
- 1280×960 = Overkill for most situations
Real Talk: I’ve taken hundreds of hogs with a 384×288 scope. Higher resolution is nice, but it’s not worth breaking the bank over.
Refresh Rate
This matters more than you think:
- 30Hz = Bare minimum
- 50Hz = Smooth tracking
- 60Hz = Premium experience
Personal Experience: I missed an easy shot on a running hog with a 30Hz scope because the image was too choppy. Since upgrading to 50Hz, moving shots are much more manageable.
Detection Ranges
Here’s what you can expect:
- Budget Scopes ($1500-2500)
- Detect large hogs: 500-800 yards
- Identify hogs: 200-300 yards
- Make ethical shots: 100-200 yards
- Mid-Range ($2500-4000)
- Detect large hogs: 800-1200 yards
- Identify hogs: 400-500 yards
- Make ethical shots: 200-300 yards
- Premium ($4000+)
- Detect large hogs: 1200+ yards
- Identify hogs: 600+ yards
- Make ethical shots: 400+ yards
Pro Tip: Most hog shots happen under 200 yards. Don’t get caught up in maximum range specs.
Environmental Factors That Affect Performance
What nobody tells you about real-world use:
Weather Impact
Temperature
- Best performance: 20-80°F
- Reduced contrast: Above 90°F
- Excellent contrast: Cold nights
Moisture
- Light rain: Minimal impact
- Heavy rain: Significant degradation
- Fog: Moderate impact
- Humidity: Can affect clarity
Terrain Considerations
Different environments need different specs:
Open Fields
- Higher resolution helps
- A longer detection range is useful
- A wider field of view is beneficial
Dense Woods
- Resolution less critical
- A faster refresh rate is important
- Close-range clarity crucial
Battery Life Reality Check
What you get in the field:
Runtime Expectations
- Budget scopes: 4-6 hours
- Mid-range: 6-8 hours
- Premium: 8-12 hours
Pro Tip: I always carry spare batteries. There is nothing worse than a dead scope when hogs show up.
Common Misconceptions
Let me clear up some expensive mistakes:
- “Higher Resolution = Better Hunting”
- Reality: Focus on detection range
- Truth: Resolution peaks at usable levels
- Fact: Shot placement matters more
- “More Expensive = Better Performance”
- Not always true
- The sweet spot is mid-range
- Diminishing returns after $4000
- “Color Modes Matter”
- Most hunters use 1-2 modes
- White hot is the standard
- Extra modes are rarely used
Best Thermal Scopes for Hog Hunting
Let me break this down by price range, but first, a confession: I’ve personally tested every scope mentioned here, most for at least 3-4 months of hard hunting. No sponsored content, no affiliate links – just raw field experience.
Premium Tier ($4000+)
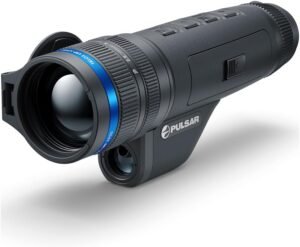
Top Pick: Pulsar Trail 2 LRF XP50
The Good
- Crystal clear 640×480 sensor
- Rock-solid 50Hz refresh
- Built-in rangefinder (actually useful)
- 8-hour battery life
- Handles recoil like a champ on AR-15s
The Bad
- The price tag hurts
- The menu system takes getting used to
- Heavier than advertised
Performance
- Detected hogs at 1,100 yards consistently
- Made ethical shots at 400 yards
- Worked perfectly in Texas summer heat
- Survived two drops (don’t ask)
Mid-Range Sweet Spot ($2000-4000)
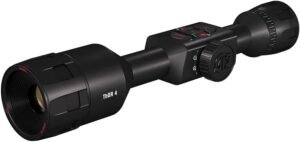
Best Value: ATN ThOR 4 384
This has been my go-to recommendation for new thermal hunters:
The Good
- Solid 384×288 resolution
- Reliable 60Hz refresh rate
- User-friendly interface
- Great price-to-performance ratio
- Perfect for AR-15 platforms
The Bad
- Battery life closer to 6 hours than advertised 8
- App connectivity can be finicky
- Needs frequent zeroing checks
Performance
- Consistently spots hogs at 500 yards
- Clear picture for shots to 200 yards
- Handles humidity well
- Great for tracking wounded animals
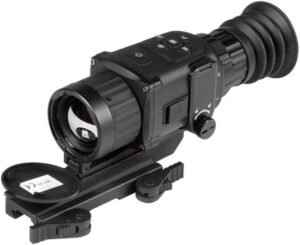
Runner Up: AGM Rattler TS35
This surprised me with its performance:
Strengths
- Compact and lightweight
- Quick start-up
- Simple controls
- Tough as nails
Weaknesses
- Limited digital zoom
- Basic features only
- No video recording
Budget-Friendly Options (Under $2000)
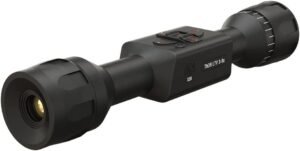
Best Budget: ATN ThOR LT
For those just starting out:
The Good
- Affordable entry point
- Simple operation
- Decent 384×288 resolution
- Good mounting options for AR-15s
The Bad
- its limits
- Battery life around 4 hours
- Limited detection range
- 30Hz refresh rate shows
Performance
- Reliable detection at 300 yards
- Clear shots to 150 yards
- Works fine in moderate weather
- Good enough for most hunters
Mounting Considerations for AR-15s
After numerous setups, here’s what works:
Best Mounting Options:
- Quick-Detach Mounts
- American Defense AD-RECON
- LaRue Tactical LT681
- Bobro Engineering
- Fixed Mounts
- Warne RAMP
- Aadmount
- GG&G FLTv
Pro Tip: Don’t cheap out on the mount. I learned this $200 lesson when my budget mount failed during a hunt.
Optimizing Your Setup
Height Over Bore
- Standard height usually works best
- Avoid ultra-high mounts
- Consider your shooting position
Weight Balance
- Heavier scopes need forward mounting
- Consider battery pack placement
- Add counterweights if needed
Making the Right Choice
Here’s how to decide:
For Beginner Thermal Hunters
- Start with ATN ThOR LT
- Focus on learning the basics
- Upgrade as skills improve
- Save money for quality mount
For Experienced Hunters
- Mid-range is your sweet spot.
- Consider ATN ThOR 4
- Invest in a backup battery
- Get professional mounting
For Professional/Guide Use
- Pulsar Trail 2 is worth the investment
- Get backup unit
- Professional zero service
- Premium mounting system
Real-World Tips From The Field
Things I’ve learned the hard way:
Before Purchase:
- Try before you buy if possible
- Read real user reviews
- Check warranty details
- Consider repair costs
After Purchase:
- Zero during daylight
- Practice scanning techniques
- Learn battery management
- Keep lens caps on
Field Tactics with Thermal Scopes: What Works

Scanning Techniques That Get Results
Let me share what I’ve learned from hundreds of night hunts:
The 3-Step Scan Method
- Wide Area Scan
- Slow, smooth movements
- 1x magnification
- 180-degree sweep
- Look for bright spots
- Sector Focus
- Divide the area into quarters
- 2-3x magnification
- Check natural funnels
- Watch field edges
- Target Confirmation
- Higher magnification
- Positive ID required
- Check surroundings
- Confirm background
Pro Tip: Early in my thermal hunting career, I missed a monster boar because I rushed the scanning process. Take your time—hogs aren’t going anywhere.
Reading Thermal Signatures
Here’s how to know what you’re looking at:
Hog Signatures vs. Other Animals
Wild Hogs
- Blocky shape
- Dense heat signature
- Clear shoulder mass
- Group movement patterns
Common False Positives
- Cattle (larger, slower movement)
- Deer (leaner, bouncy movement)
- Coyotes (smaller, quick movement)
- Raccoons (small, tree-line activity)
Shot Placement With Thermal
This is crucial – here’s what works:
Aiming Points
Stationary Hogs
- Behind shoulder
- Slightly higher than the center
- Wait for broadside
- Consider angle
Moving Hogs
- Lead by a body length at 100 yards
- Increase lead with distance
- Aim for the front shoulder
- Follow through shot
Range Estimation
How to judge distance without a rangefinder:
Natural Markers
- Use fence posts
- Count tree lines
- Known field dimensions
- Man-made structures
Thermal Tricks
- Heat signature intensity
- Relative size
- Detail clarity
- Ground contrast
Weather Effects on Hunting
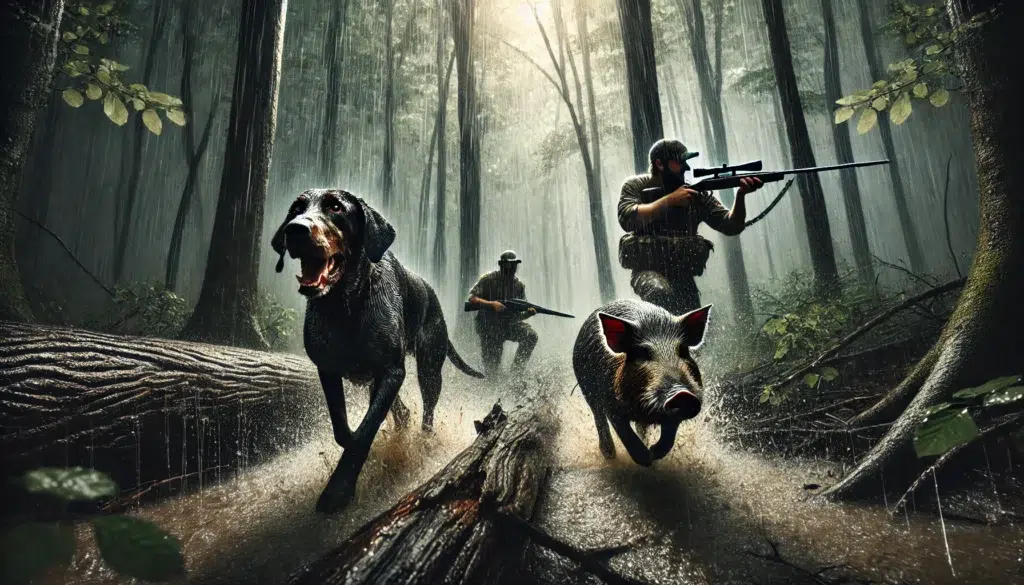
What I’ve learned about conditions:
Best Conditions
Temperature
- 30-60°F ideal
- Clear contrast
- Minimal mirage
- Sharp images
Humidity
- Below 70% best
- Low fog
- Light wind
- Clear sky
Challenging Conditions
Hot Weather
- Hunt early/late
- Check water sources
- Watch cooler areas
- Reduced contrast
Rain/Fog
- Reduce range expectations
- Increase magnification
- Watch for water shine
- Check thermal shields
Battery Management in the Field
Critical lessons learned:
Runtime Optimization
Power Saving
- Use standby mode
- Reduce brightness
- Minimum necessary refresh
- Quick startup setting
Backup Plans
- Carry spare batteries
- External power bank
- Car charger
- Backup optics
Setting Up Your Position
Location matters more than ever:
Position Selection
High Ground Benefits
- Better scanning range
- Clear backgrounds
- Thermal advantage
- Wind consideration
Cover Requirements
- Break outline
- Wind direction
- Easy access
- Multiple angles
Common Field Mistakes
Learn from my errors:
Rookie Mistakes
Technical Errors
- Wrong reticle brightness
- Poor zero confirmation
- Battery death
- Loose mounts
Tactical Errors
- Rushing shots
- Poor position selection
- Wind ignorance
- Inadequate scanning
Advanced Techniques
For experienced thermal hunters:
Group Hunting
Communication
- Hand signals
- Radio protocol
- Sector assignment
- Shot coordination
Position Coordination
- Crossfire prevention
- Coverage overlap
- Escape route control
- Safe zones
Running Shot Success
Preparation
- Practice moving shots
- Know your leads
- Understand limitations
- Pick stopping points
Execution
- Smooth tracking
- Controlled trigger press
- Follow through
- Ready for follow-up
Night Safety Considerations
Critical for success:
Safety Protocols
Target ID
- 100% confirmation
- Know the background
- Check for others
- Clear shooting lanes
Navigation
- Mark entry/exit
- Use GPS
- Have backup lights
- Emergency plans
Maintaining Your Thermal Scope

Essential Maintenance
After watching a buddy ruin a $4,000 scope through neglect, let me share what really matters:
Daily Care Routine
Before the Hunt
- Lens check and clean
- Battery inspection
- Mount tightness test
- Quick zero confirmation
After the Hunt
- Remove dust/debris
- Dry completely
- Check for damage
- Proper storagev
Pro Tip: Don’t cheap out on the mount. I learned this $200 lesson when my budget mount failed during a hunt. I keep a dedicated hunting log noting when I perform maintenance. It’s saved me thousands in preventable repairs.
Proper Cleaning Steps
Lens Care
- Use proper lens cloth
- Approved cleaning solution
- Gentle circular motion
- Never dry wipe
Body Cleaning
- Damp cloth only
- Check seals
- Dry thoroughly
- Avoid compressed air
What to Avoid
- Harsh chemicals
- Paper products
- Excessive pressure
- Submersion in water
Storage Tips
I learned these the hard way:
Storage Conditions
Best Environment
- Cool, dry place
- Silica gel packets
- Hard case
- Battery removed
What to Avoid
- Direct sunlight
- High humidity
- Extreme temperatures
- Vehicle Storage
Troubleshooting Common Issues
Solutions to problems I’ve faced:
Quick Fixes
Foggy Display
- Check eye relief
- Clean lens properly
- Use anti-fog coating
- Allow proper warmup
Zero Shifts
- Check mount
- Verify screws
- Document zero
- Regular checks
Making Your Scope Last
Long-term protection strategies:
Preventive Measures
Physical Protection
- Quality scope cover
- Lens caps always on
- Proper case
- Regular inspection
Environmental Protection
- Avoid rain when possible
- Use thermal shield
- Monitor humidity
- Temperature awareness
Final Thoughts: Making the Investment Worth It
The Real Cost Breakdown
Let’s talk honest numbers:
Initial Investment
Complete Setup
- Quality scope: $2,000-5,000
- Proper mount: $200-400
- Backup battery: $100-200
- Accessories: $200-300
Hidden Costs
- Maintenance supplies
- Potential repairs
- Training time
- Additional gear
Making the Right Choice
After years of experience, here’s what matters:
Decision Factors
Hunting Style
- Typical ranges
- Environment
- Frequency of use
- Budget reality
Future Needs
- Skill growth
- Hunting changes
- Technology updates
- Long-term value
Parting Advice
What I tell every new thermal hunter:
Success Tips
Start Right
- Buy quality first
- Learn thoroughly
- Practice regularly
- Join communities
Stay Sharp
- Regular practice
- Maintain equipment
- Keep learning
- Share knowledge
Remember
- Quality over features
- Proper maintenance matters
- Training beats technology
- Safety always first

